

Doro 6520


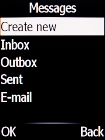
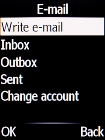
Find "E-mail"
Press the Message key.
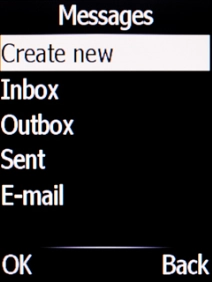
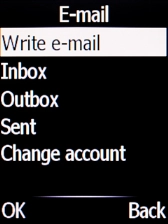
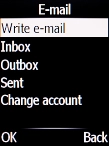
Find "E-mail"
Select E-mail.
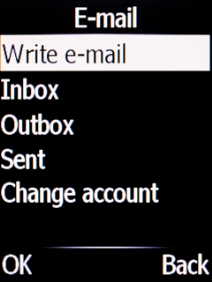
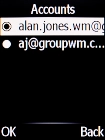
Select email account
Select Change account.
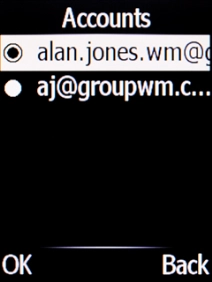
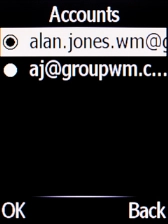
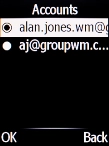
Select email account
Select the required email account.
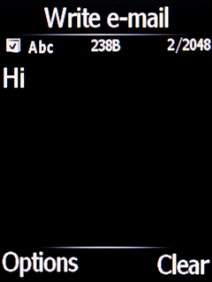
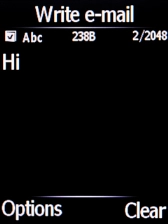
Create new email message
Select Write e-mail.
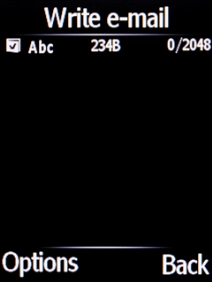
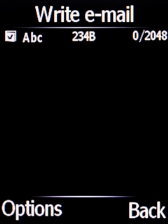
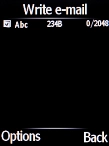
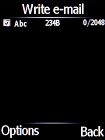
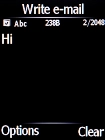
Write text
Highlight the text input field and write the text for your email message.
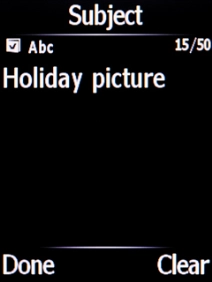
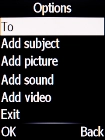
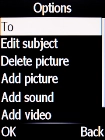
Enter subject
Press the Left selection key.
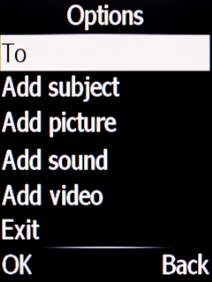

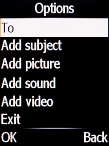
Enter subject
Select Add subject.
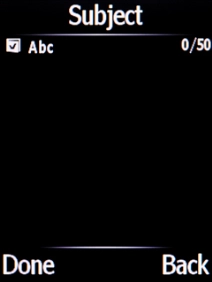
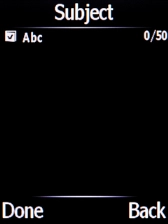
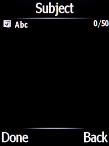
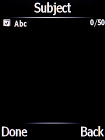
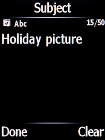
Enter subject
Highlight the text input field and key in the required subject.
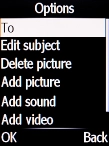
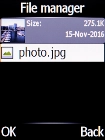
Attach file
Press the Left selection key.
Attach file
Select Add picture.
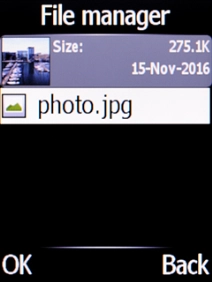
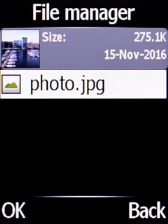
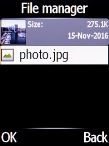
Attach file
Go to the required folder and select the required file.
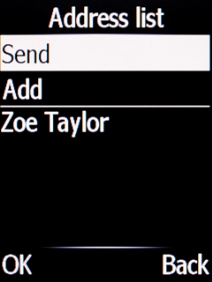
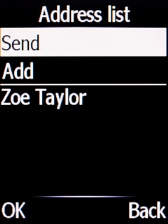
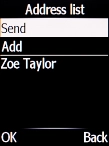
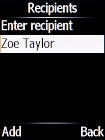
Select recipient
Press the Left selection key.
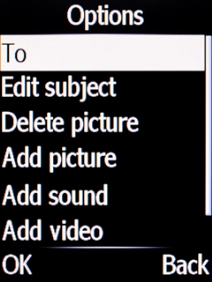
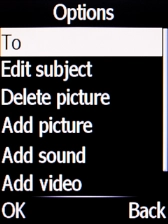
Select recipient
Select To.
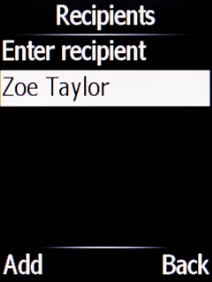
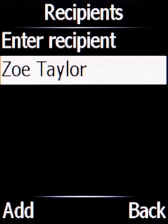
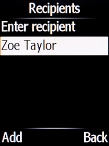
Select recipient
Select the required contact.
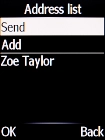
Send the email message
Press the Navigation key.
Return to the home screen
Press Disconnect to return to the home screen.
1 Find "E-mail"

2 Select email account
3 Create new email message
4 Write text
5 Enter subject
6 Attach file
7 Select recipient
8 Send the email message
9 Return to the home screen