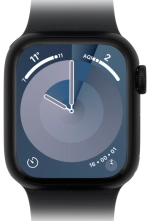
Apple Watch Series 8
watchOS 11
Use GPS navigation
You can use your Apple Watch for navigation helping you find a certain destination.
1. 1. Find "Search"
Press the Digital Crown.
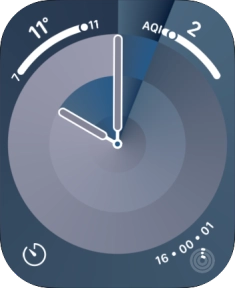
Press the Maps icon.

Press the search icon.
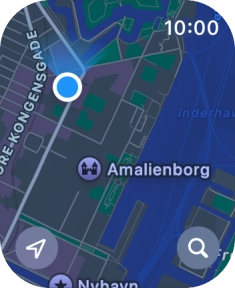
Press Search.
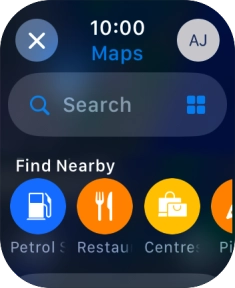
2. 2. Find destination using voice
Press the input icon.
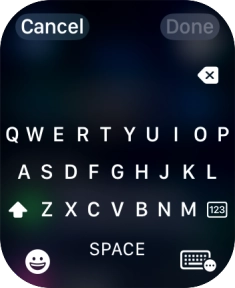
Press the microphone icon to turn on voice input.
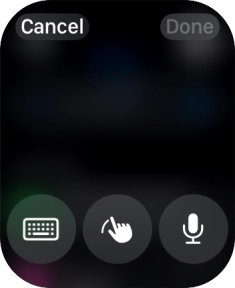
Say "[the required destination]".

Press Done.
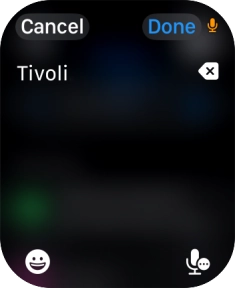
Press the required destination.
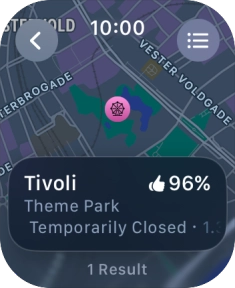
3. 3. Find destination using text input
Press the input icon.

Press the keypad icon.

Key in the required destination and press Done.

Press the required destination.

4. 4. Select transport type
Press the start journey icon.
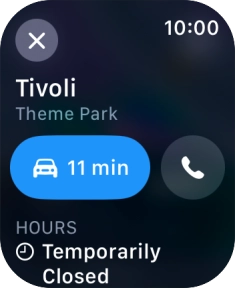
Press the transport type icon.
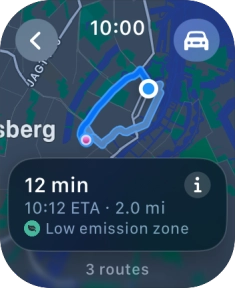
Press the required transport type.
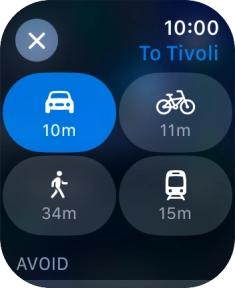
5. 5. Plan route to destination
Turn the Digital Crown to see the suggested routes.
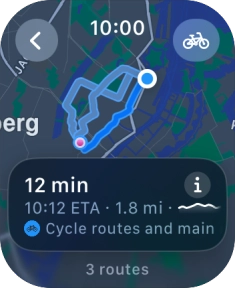
Press the required route.

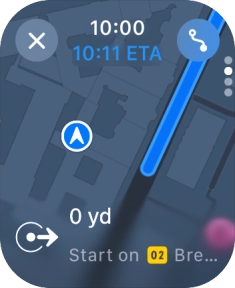
6. 6. Follow the directions
Follow the instructions on the screen to go to the required destination.
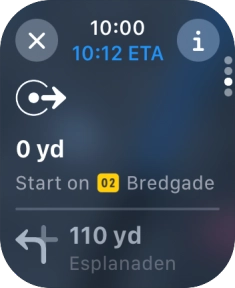
7. 7. See route overview
Slide your finger upwards on the screen to see an overview of the route.

8. 8. Exit navigation
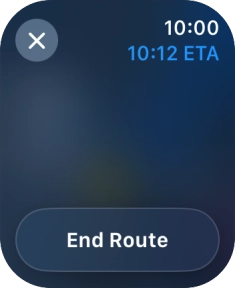
Press the end icon.
Press End Route.
9. 9. Return to the home screen
Press the Digital Crown several times to return to standby mode.


