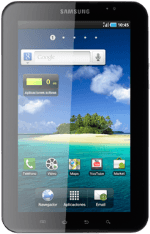
Samsung Galaxy Tab
Set up the device for Exchange email
Follow these instructions to set up the device for Exchange email.
1. Find "Access Point Names"
Press Applications.
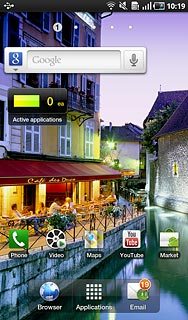
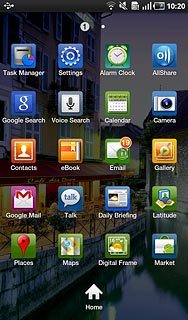
Press Settings.
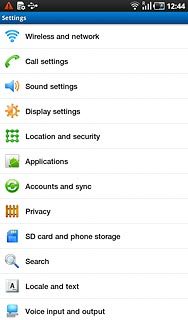
Press Wireless and network.
Press Mobile networks.
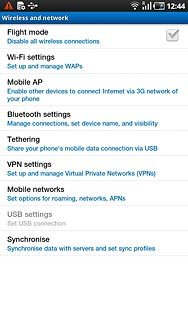
Press Access Point Names.
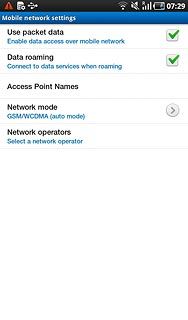
2. Create new data connection
Press the Menu key.

Press New APN.
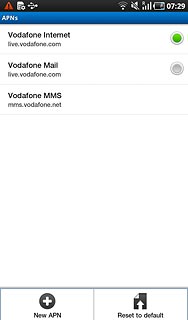
3. Enter data connection name
Press Name.
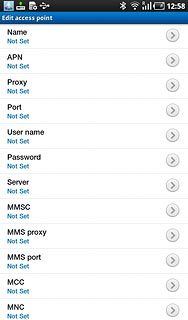
Key in the required name and press OK.
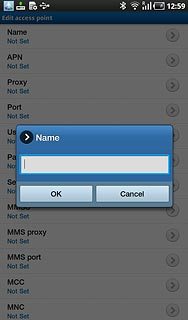
4. Enter APN
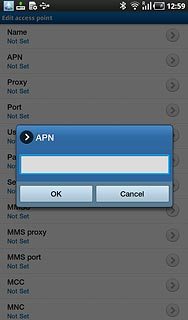
Press APN.
Key in www.vodafone.net.nz
Key in www.vodafone.net.nz
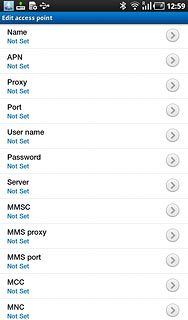
Press OK.
5. Enter country code
Press MCC.
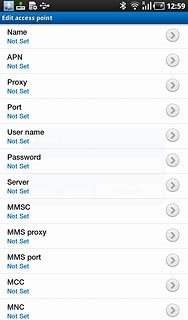
Key in 530 and press OK.
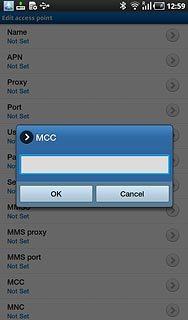
6. Enter network code
Press MNC.
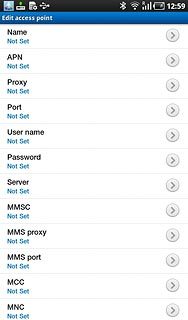
Key in 01 and press OK.
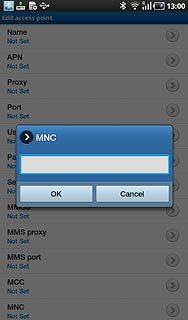
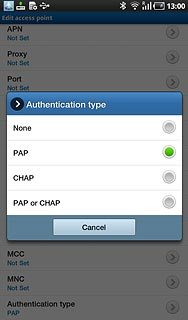
7. Select authentication type
Press Authentication type.
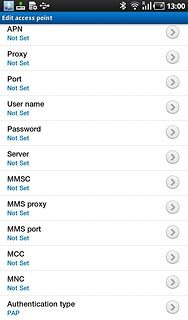
Press PAP.
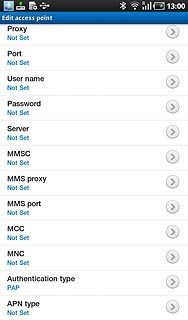
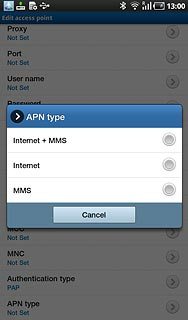
8. Select APN type
Press APN type.
Press Internet.
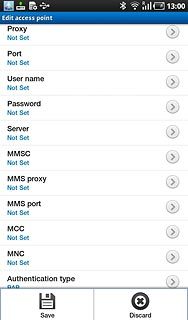
9. Save and activate data connection
Press the Menu key.

Press Save.
Press the field next to Vodafone Mail to mark it.

Press the Home key to return to standby mode.

10. Find "Corporate"
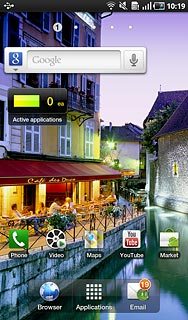
Press Applications.
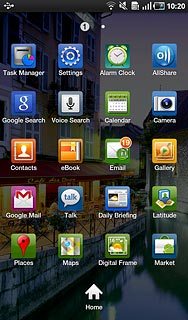
Press Settings.
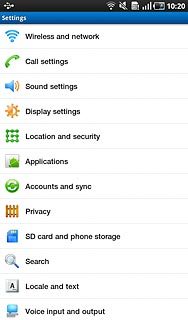
Press Accounts and sync.
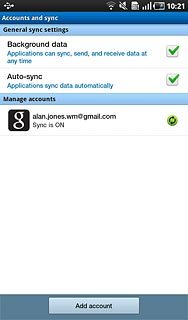
Press Add account.
Press Corporate.
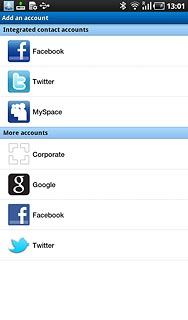
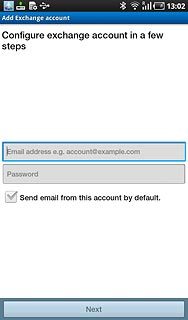
11. Enter email address
Press Email address e.g. account@example.com and key in your email address.
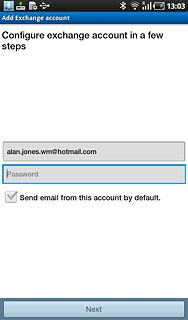
12. Enter password
Press Password and key in the password for your email account.
Press Next.
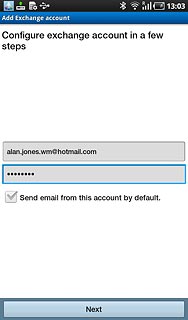
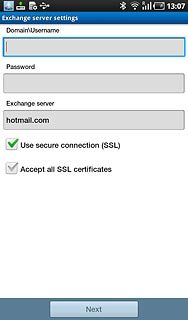
13. Enter domain name and username
Press the field below Domain\Username and key in the domain name and username separated by a "\".
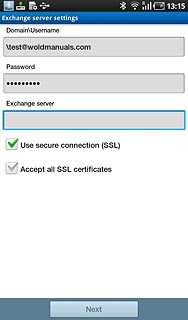
14. Enter server address
Press the field below Exchange server and key in the server address.
15. Activate or deactivate SSL encryption
Press Use secure connection (SSL) to activate or deactivate SSL encryption.
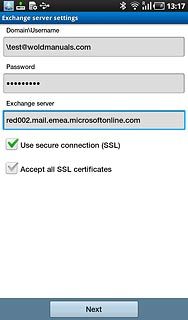
When the box next to the menu item is ticked (V), the function is activated.
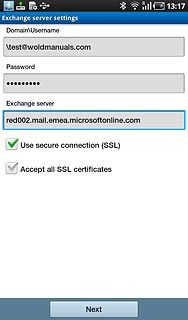
Press Accept all SSL certificates to activate or deactivate accept of all certificates.
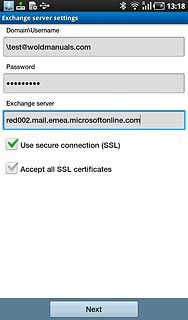
When the box next to the menu item is ticked (V), the function is activated.

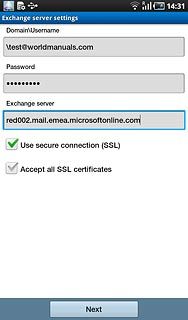
Press Next.
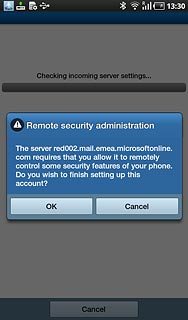
Press OK to confirm.
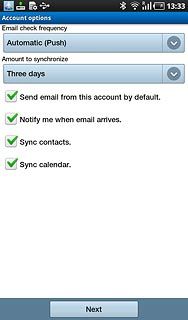
16. Select interval for synchronisation
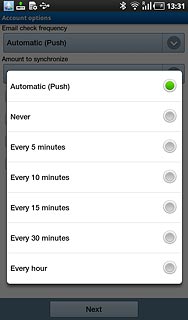
Press the drop down list below Email check frequency.
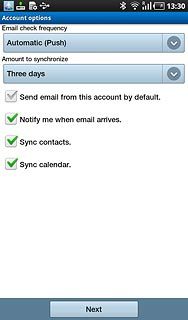
Press Automatic (Push), Never or the required frequency.
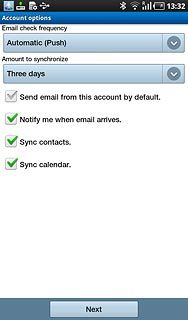
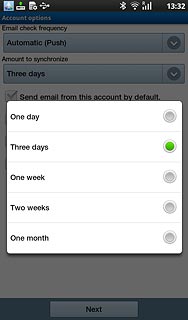
Press the drop down list below Amount to synchronize.
Press the required frequency.
Please note: Each time the device connects to the server to synchronise, data charges will apply.
Please note: Each time the device connects to the server to synchronise, data charges will apply.
17. Select default email account
Press Send email from this account by default to activate or deactivate the function.
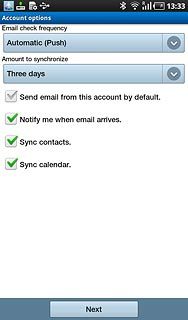
When the box next to the menu item is ticked (V), the function is activated.
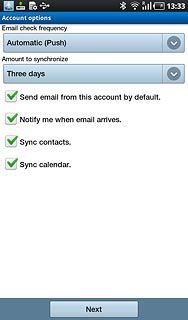
18. Activate or deactivate email message alert
Press Notify me when email arrives to activate or deactivate the function.
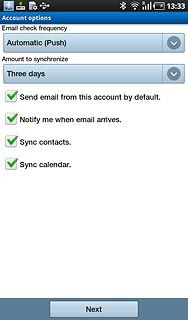
When the box next to the menu item is ticked (V), the function is activated.
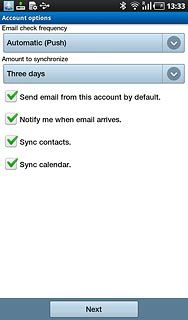
19. Activate or deactivate automatic synchronisation of contacts
Press Sync contacts to activate or deactivate the function.
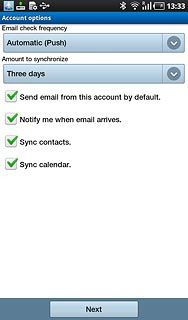
When the box next to the menu item is ticked (V), the function is activated.
20. Activate or deactivate automatic synchronisation of calendar
Press Sync calendar to activate or deactivate the function.
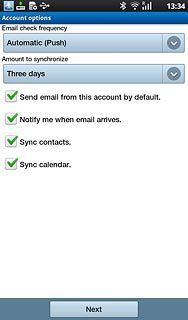
When the box next to the menu item is ticked (V), the function is activated.
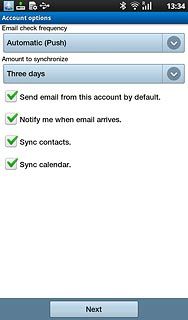
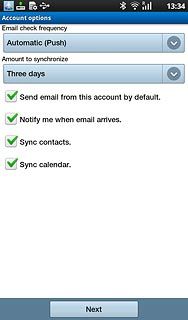
Press Next.
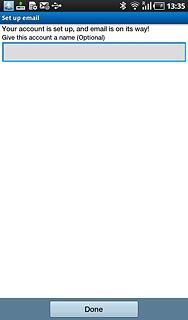
21. Enter account name
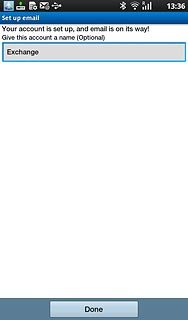
Press the field below Give this account a name (Optional) and key in the required name.
22. Finish setup
Press Done.
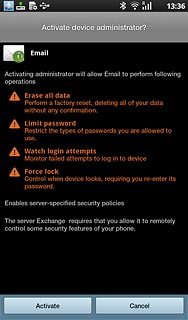
Press Activate.
23. Exit
Press the Home key to return to standby mode.

