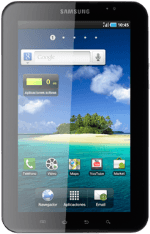
Samsung Galaxy Tab
Create contact
Follow these instructions to create a new contact.
1. Find "the new contact icon"
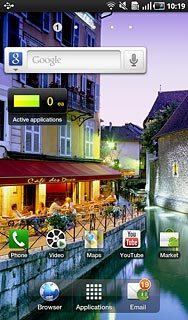
Press Applications.
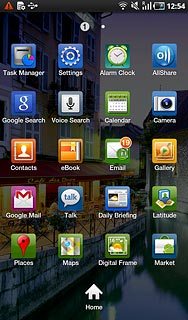
Press Contacts.
Press the new contact icon.
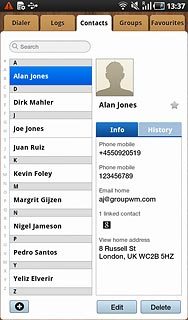
2. Select phone book
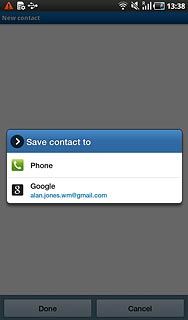
Press Phone or the required email account.
If you select Phone, the contact is created in the device phone book.
If you select an email account, the contact is attached to this account but is also displayed in the device.
Only email accounts you are logged on to are displayed.
If you select an email account, the contact is attached to this account but is also displayed in the device.
Only email accounts you are logged on to are displayed.
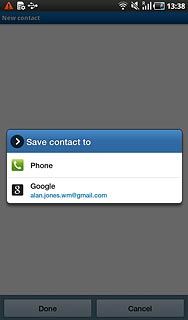
The steps below are based on the Phone phone book. If you select another phone book, there may be some differences in relation to the instruction.
If you select Phone, the contact is created in the device phone book.
If you select an email account, the contact is attached to this account but is also displayed in the device.
Only email accounts you are logged on to are displayed.
If you select an email account, the contact is attached to this account but is also displayed in the device.
Only email accounts you are logged on to are displayed.
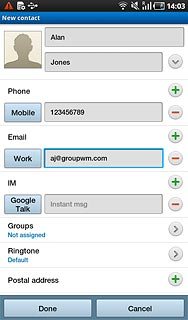
3. Enter name
Press First name and key in the required first name.
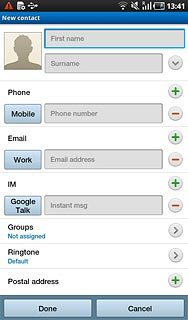
Press Surname and key in the required last name.
4. Key in phone number
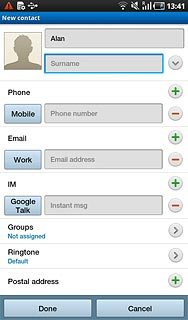
Press Phone number and key in the required phone number.
Always begin phone numbers with a + followed by the country code, even for local phone numbers. This ensures that the phone numbers can be called even when you are abroad.
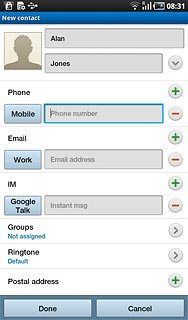
Press the field next to the phone number.
Always begin phone numbers with a + followed by the country code, even for local phone numbers. This ensures that the phone numbers can be called even when you are abroad.
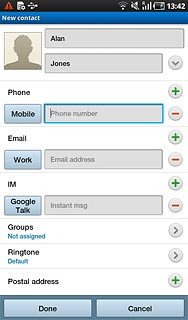
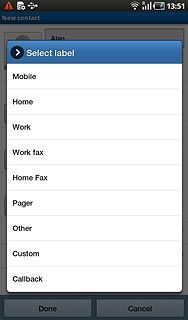
Press the required number type.
Always begin phone numbers with a + followed by the country code, even for local phone numbers. This ensures that the phone numbers can be called even when you are abroad.
5. Enter email address
Press Email address and key in the required email address.
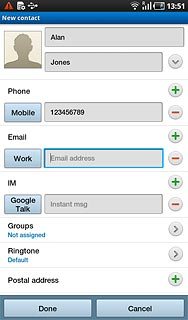
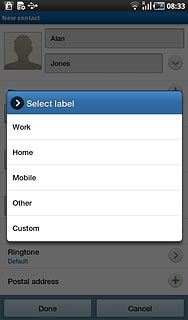
Press the field next to the email address.
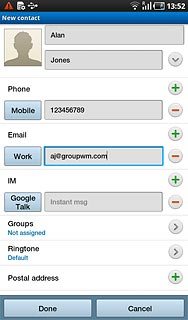
Press the required email type.
6. Assign picture
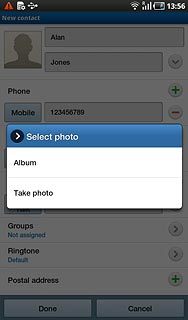
Press the picture icon next to the name.
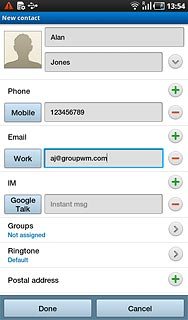
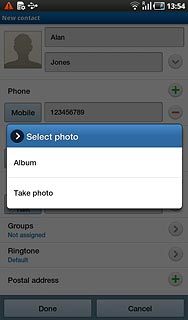
To use a saved picture:
Press Album.
Press Album.
Go to the required folder.
Press the required picture.
Press the required picture.

To take a new picture:
Press Take photo.
Press Take photo.
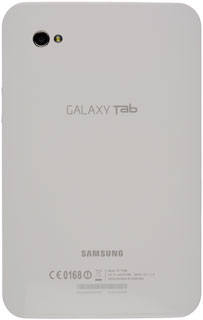
Point the camera lens at the required object and press the camera icon to take the picture.
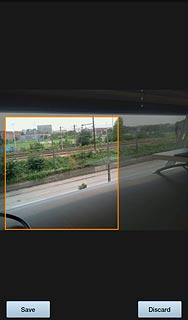
Drag the frame to the required position to select the required detail.
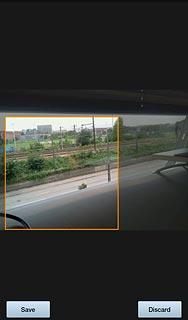
Press Save.
7. Assign ringtone
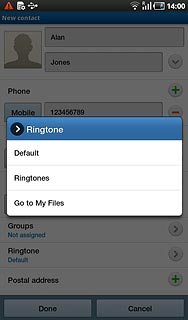
Press Ringtone.
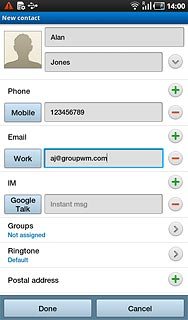
Press Default, Ringtones or Go to My Files.
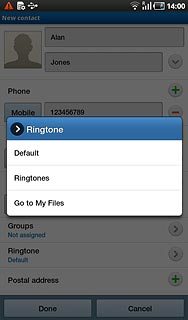
If you select Default:
The ringtone follows the default setting.
The ringtone follows the default setting.
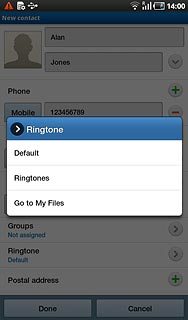
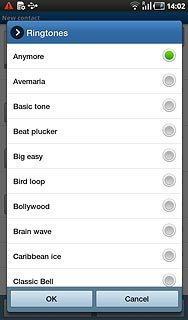
If you select Ringtones:
Go to the required folder.
Go to the required folder.
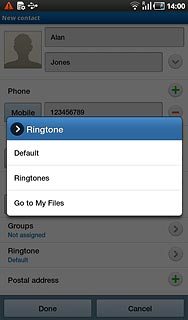
Press the required ringtone to hear it.
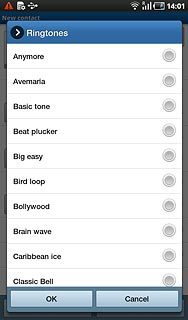
Press OK.
If you select Go to My Files:
Go to the required folder.
Go to the required folder.
Press the required ringtone to hear it.
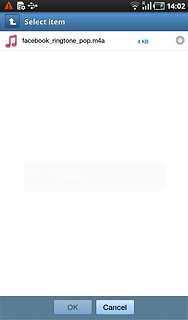
Press OK.

8. Save and exit
Press Done.
Press the Home key to return to standby mode.

