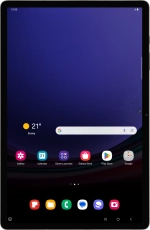
Samsung Galaxy Tab S9+ 5G
Android 13
1 Find "Manage accounts"
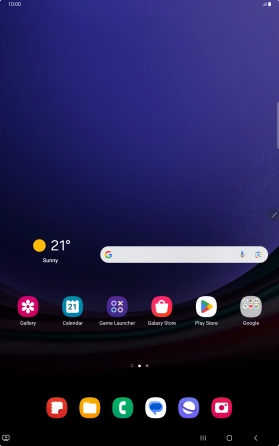
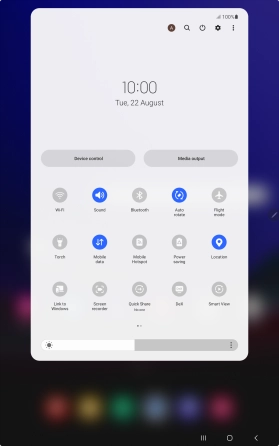
Slide two fingers downwards starting from the top of the screen.
Press the settings icon.
Press Accounts and backup.
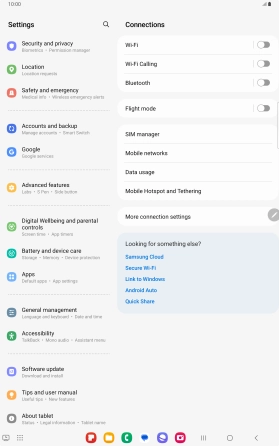
Press Manage accounts.
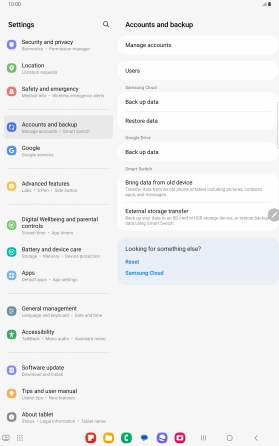
2 Turn automatic synchronisation of content on or off
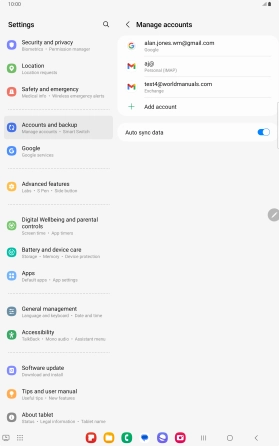
Press the indicator next to "Auto sync data" to turn the function on or off.
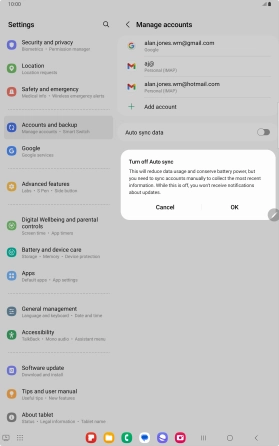
Press OK.
3 Return to the home screen
Press the Home key to return to the home screen.


