Samsung Galaxy A33 5G
Android 12.0
1 Find "Access Point Names"
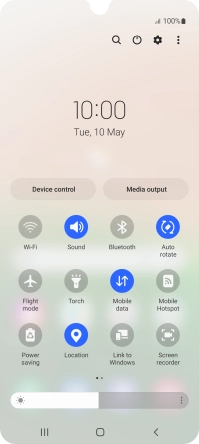
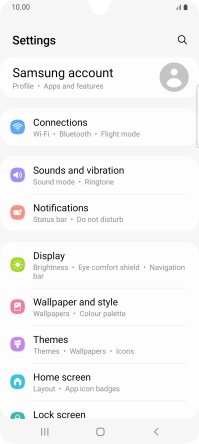
Slide two fingers downwards starting from the top of the screen.
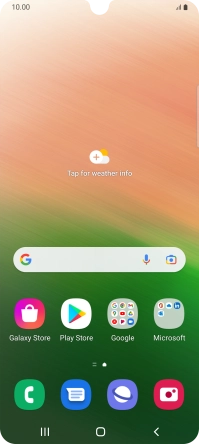
Press the settings icon.
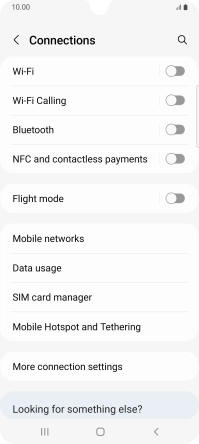
Press Connections.
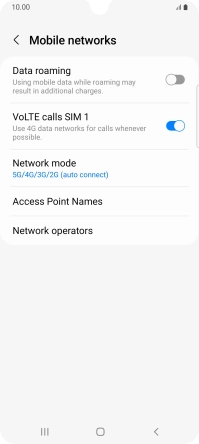
Press Mobile networks.
Press Access Point Names.
2 Create new data connection
Press Add.
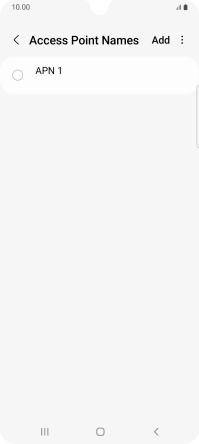
Press Name.
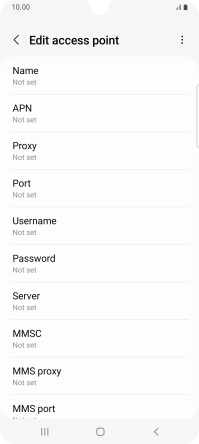
Key in Vodafone Internet and press OK.
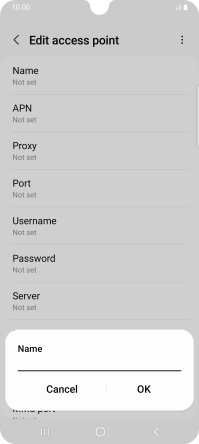
Vodafone Internet
3 Enter APN
Press APN.

Key in vodafone and press OK.
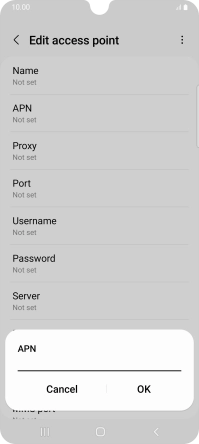
vodafone
4 Enter country code
Press MCC.
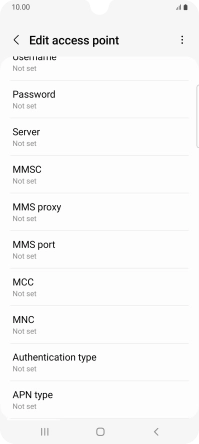
Key in 530 and press OK.
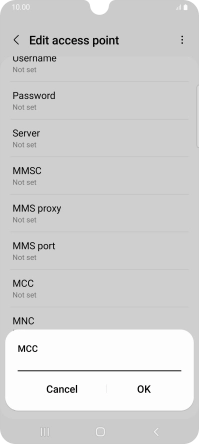
530
5 Enter network code
Press MNC.

Key in 01 and press OK.
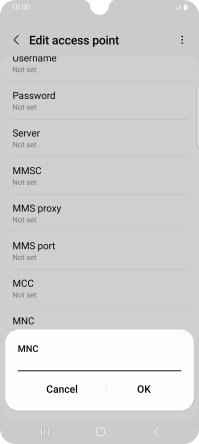
01
6 Select authentication type
Press Authentication type.

Press PAP.
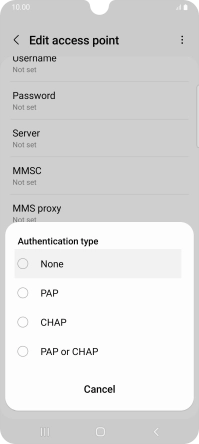
7 Enter APN type
Press APN type.

Key in default and press OK.
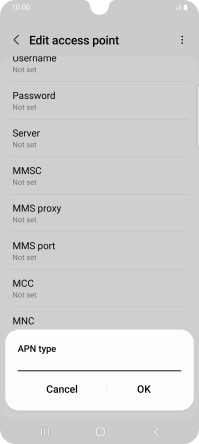
default
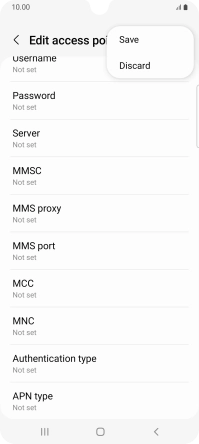
8 Save data connection
Press the menu icon.

Press Save.
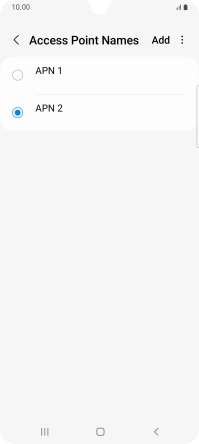
Press the field next to the data connection to activate it.

9 Return to the home screen
Press the Home key to return to the home screen.
