Samsung Galaxy A3

Samsung Galaxy A3

You can't receive picture messages - Samsung Galaxy A3

Cause 1 of 2: Your phone hasn't been correctly set up for picture messaging

If your phone hasn't been correctly set up for picture messaging, you can't send and receive picture messages.

Solution: Set up your phone for picture messaging.

Step 1 of 28

Find "Access Point Names"

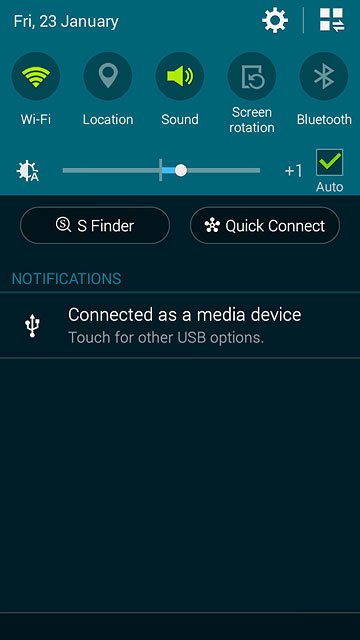
Slide your finger down the display starting from the top edge of your phone.
Press the settings icon.

Step 2 of 28

Find "Access Point Names"

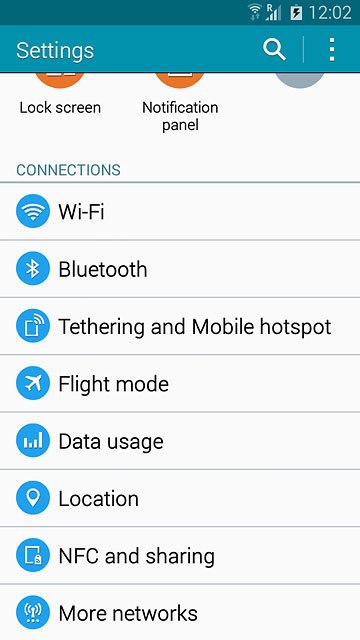
Press More networks.

Step 3 of 28

Find "Access Point Names"

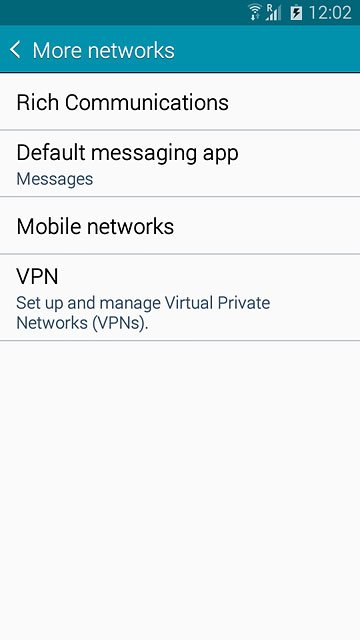
Press Mobile networks.

Step 4 of 28

Find "Access Point Names"

Press Access Point Names.

Step 5 of 28

Create new data connection

Press the new data connection icon.

Step 6 of 28

Enter data connection name

Press Name.

Step 7 of 28

Enter data connection name

Key in Vodafone MMS and press OK.

Step 8 of 28

Enter APN

Press APN.

Step 9 of 28

Enter APN

Key in live.vodafone.com and press OK.

Step 10 of 28

Enter picture messaging server

Press MMSC.

Step 11 of 28

Enter picture messaging server

Key in http://pxt.vodafone.net.nz/pxtsend and press OK.

Step 12 of 28

Enter IP address

Press MMS proxy.

Step 13 of 28

Enter IP address

Key in 172.030.038.003 and press OK.

Step 14 of 28

Enter port number

Press MMS port.

Step 15 of 28

Enter port number

Key in 8080 and press OK.

Step 16 of 28

Enter country code

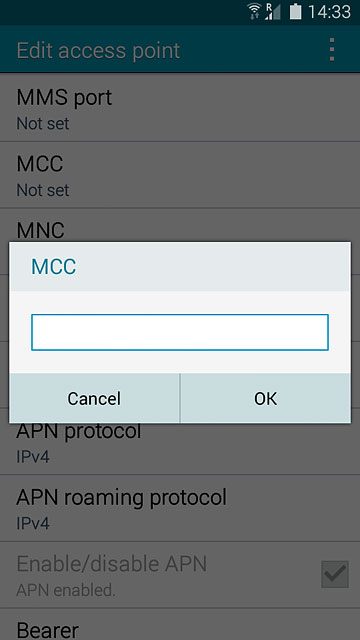
Press MCC.

Step 17 of 28

Enter country code

Key in 530 and press OK.

Step 18 of 28

Enter network code

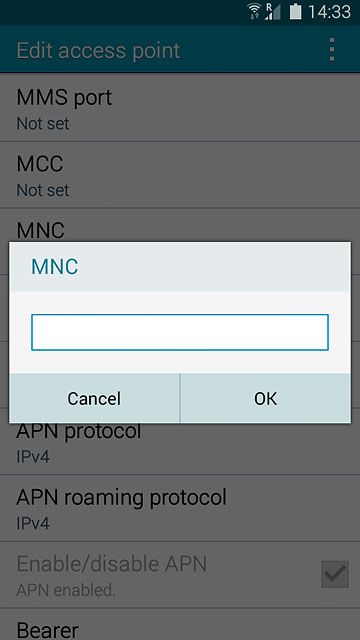
Press MNC.

Step 19 of 28

Enter network code

Key in 01 and press OK.

Step 20 of 28

Select authentication type

Press Authentication type.

Step 21 of 28

Select authentication type

Press PAP.

Step 22 of 28

Select APN type

Press APN type.

Step 23 of 28

Select APN type

Key in mms and press OK.

Step 24 of 28

Select data bearer

Press Bearer.

Step 25 of 28

Select data bearer

Press Unspecified.

Step 26 of 28

Save data connection

Press the menu icon.

Step 27 of 28

Save data connection

Press Save.

Step 28 of 28

Return to the home screen

Press the Home key to return to the home screen.

1 Find "Access Point Names"

Slide your finger down the display starting from the top edge of your phone.
Press the settings icon.
Press More networks.
Press Mobile networks.
Press Access Point Names.
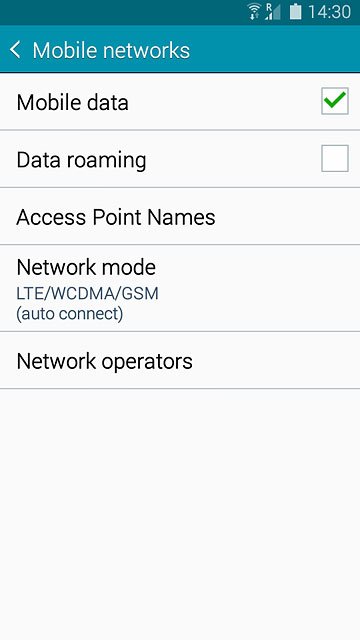
2 Create new data connection

Press the new data connection icon.

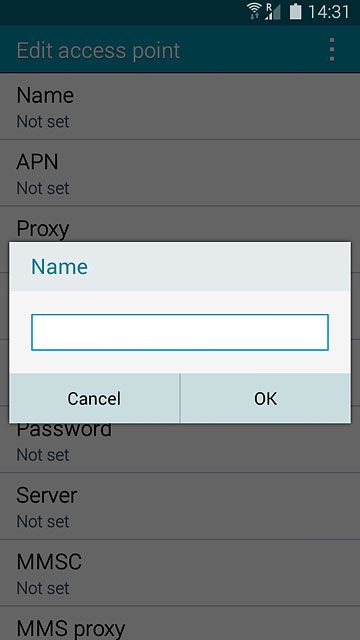
3 Enter data connection name

Press Name.
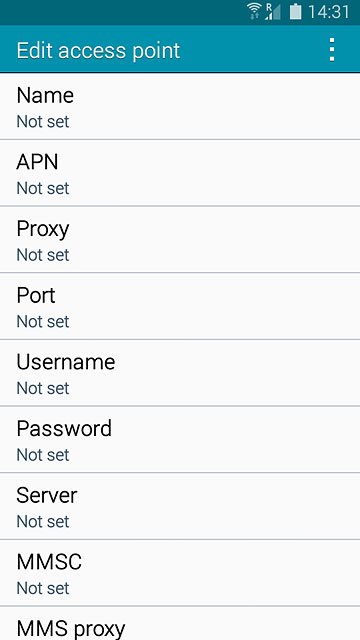
Key in Vodafone MMS and press OK.
4 Enter APN

Press APN.
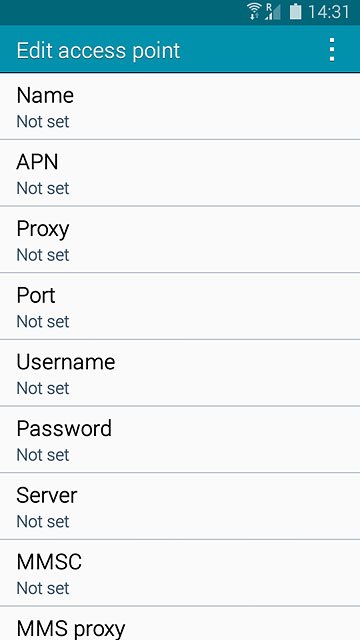
Key in live.vodafone.com and press OK.
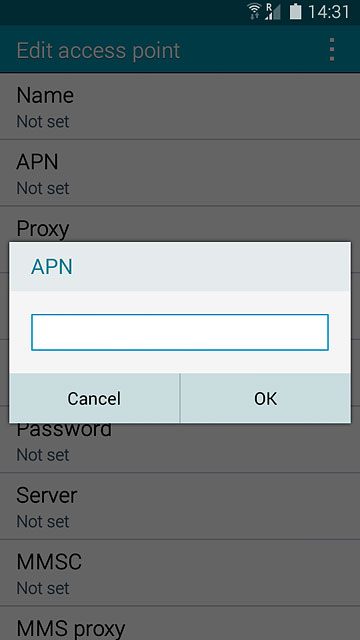
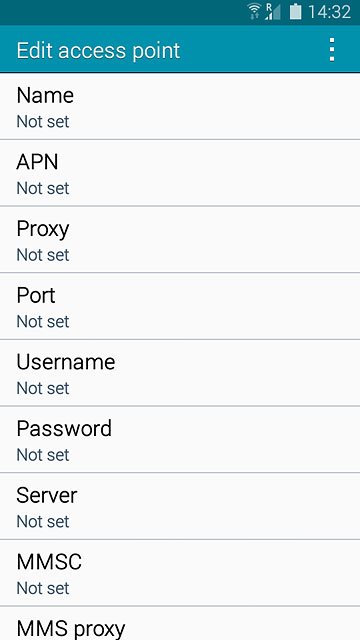
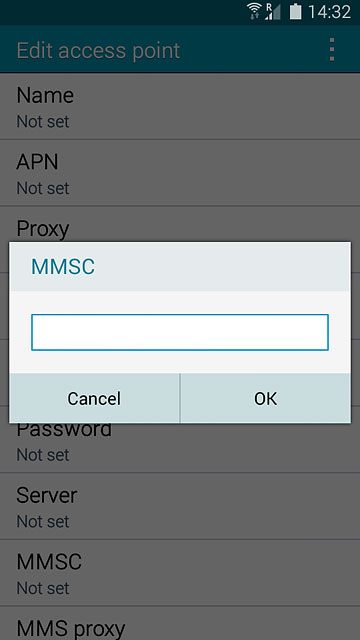
5 Enter picture messaging server

Press MMSC.
Key in http://pxt.vodafone.net.nz/pxtsend and press OK.
6 Enter IP address

Press MMS proxy.
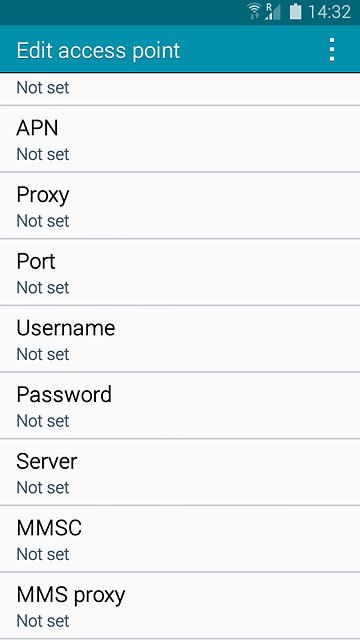
Key in 172.030.038.003 and press OK.
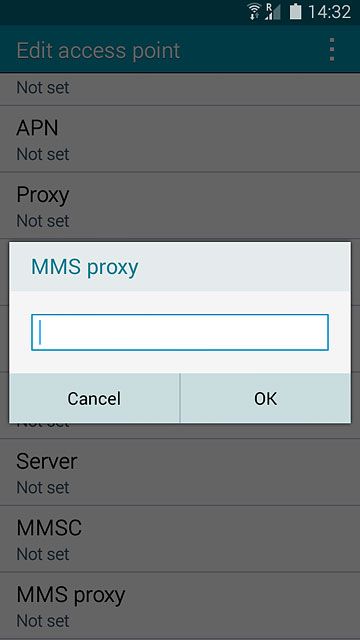
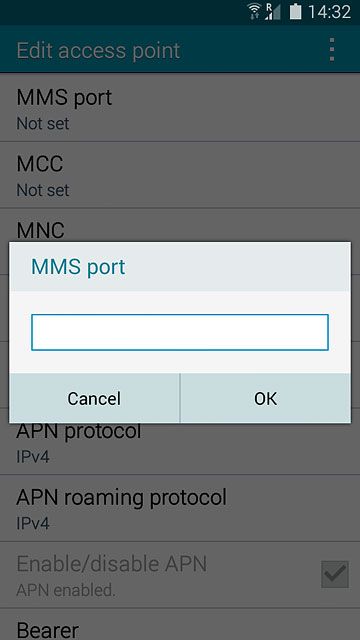
7 Enter port number

Press MMS port.
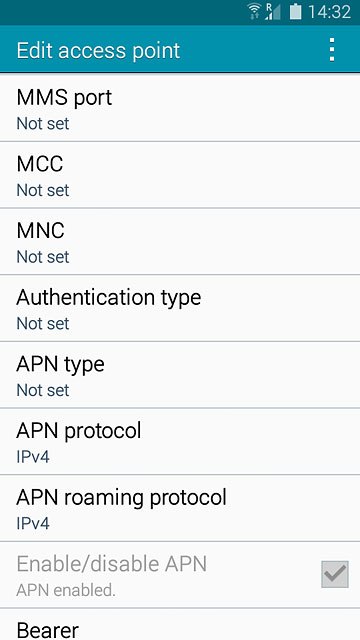
Key in 8080 and press OK.
8 Enter country code

Press MCC.
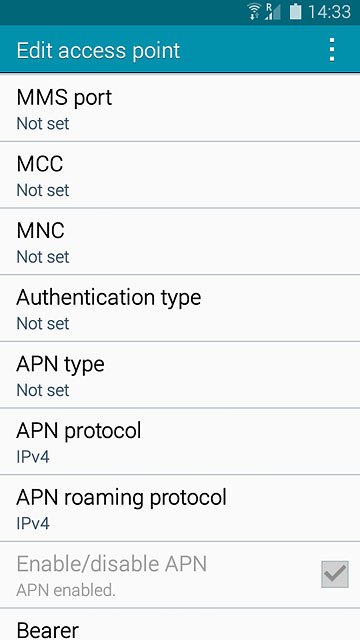
Key in 530 and press OK.
9 Enter network code

Press MNC.
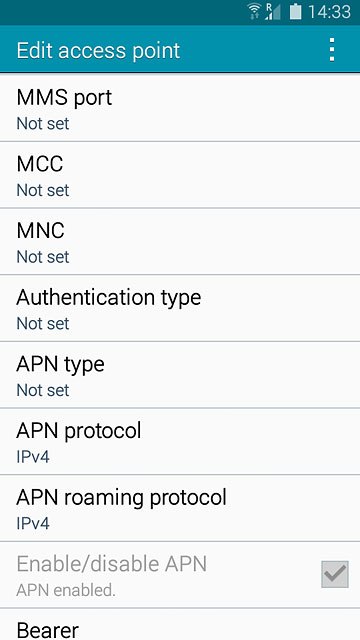
Key in 01 and press OK.
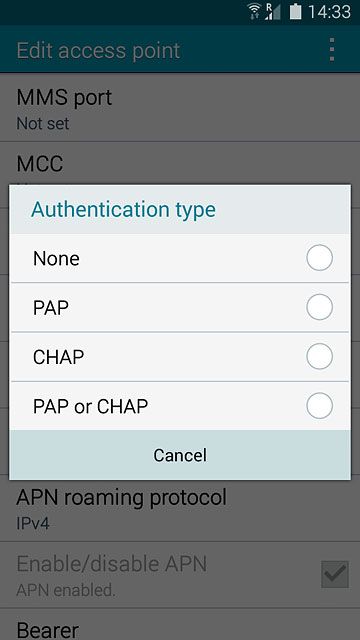
10 Select authentication type

Press Authentication type.
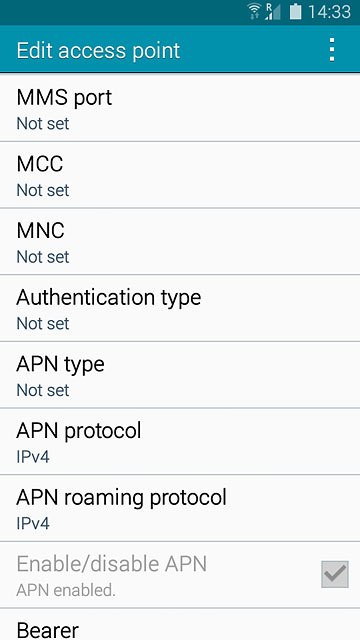
Press PAP.
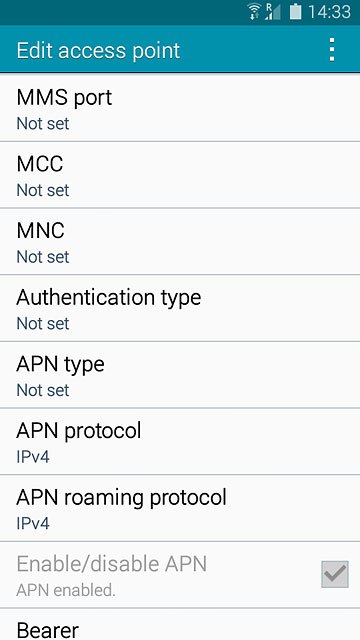
11 Select APN type

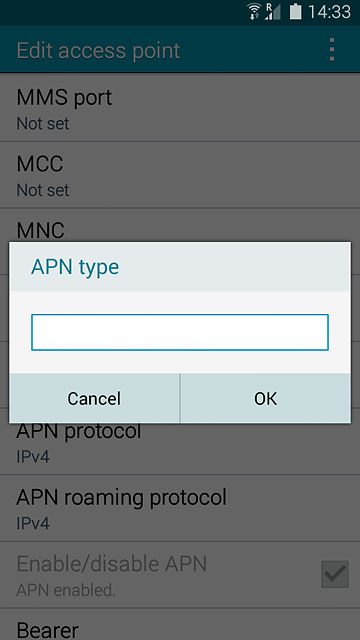
Press APN type.
Key in mms and press OK.
12 Select data bearer

Press Bearer.
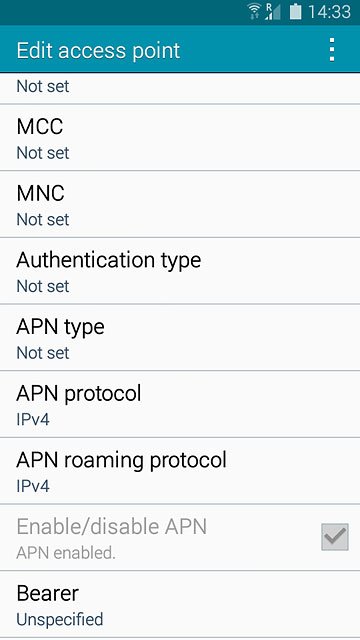
Press Unspecified.
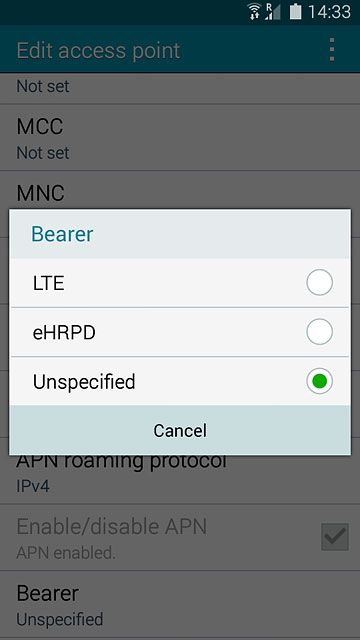
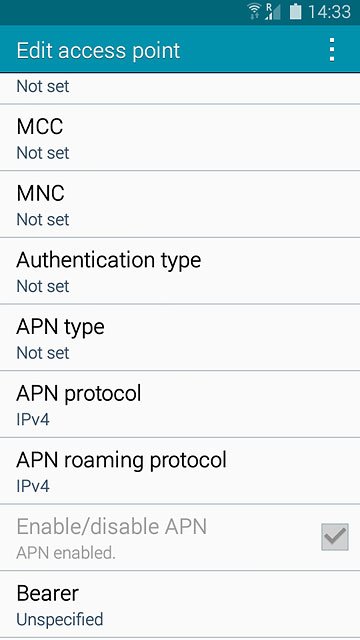
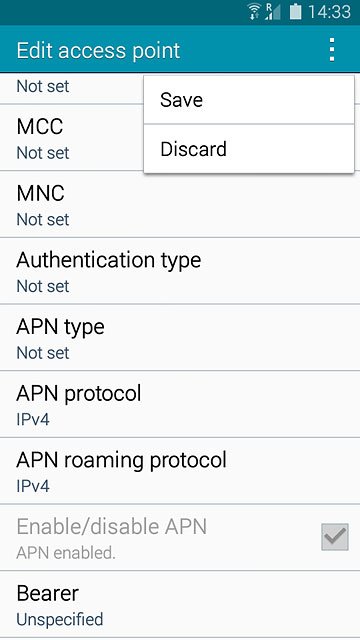
13 Save data connection

Press the menu icon.
Press Save.
14 Return to the home screen

Press the Home key to return to the home screen.
Did this solve the problem?

Yes - All solved No - Go to next cause

Get information on...

Or select...

Another device

Customer Impacting Events

Mobile ›
Excellent Very Good Good Fair Low No Connection
Landline & Broadband ›
Excellent Very Good Good Fair Low No Connection
main_icn_Play_arrow main_icn_Chevron_down main_icn_Chevron_right main_icn_Chevron_left main_icn_Chevron_up

Internet Explorer Not Supported

Please note that we do not support Internet Explorer. For optimal browsing we recommend Chrome, Safari, or Firefox.