

Samsung Galaxy A24


Find "Access Point Names"
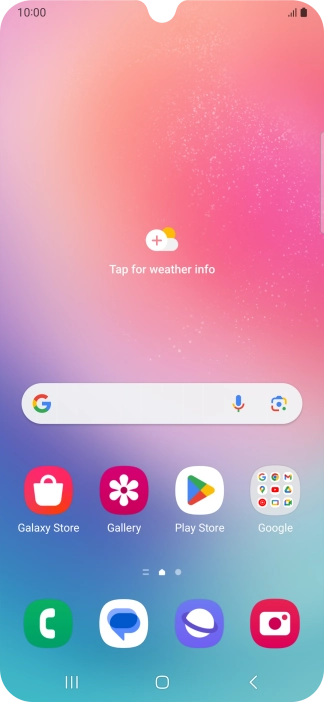
Slide two fingers downwards starting from the top of the screen.

Find "Access Point Names"
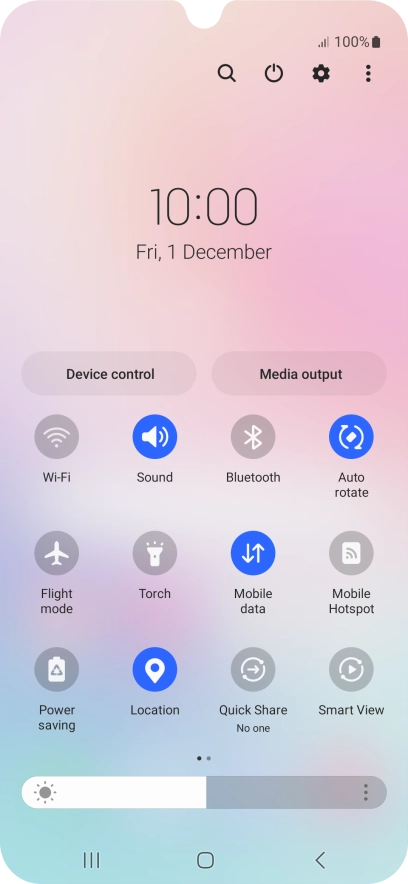
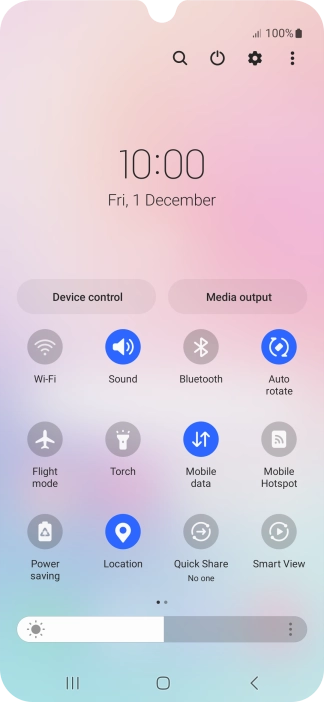
Press the settings icon.


Find "Access Point Names"
Press Connections.


Find "Access Point Names"
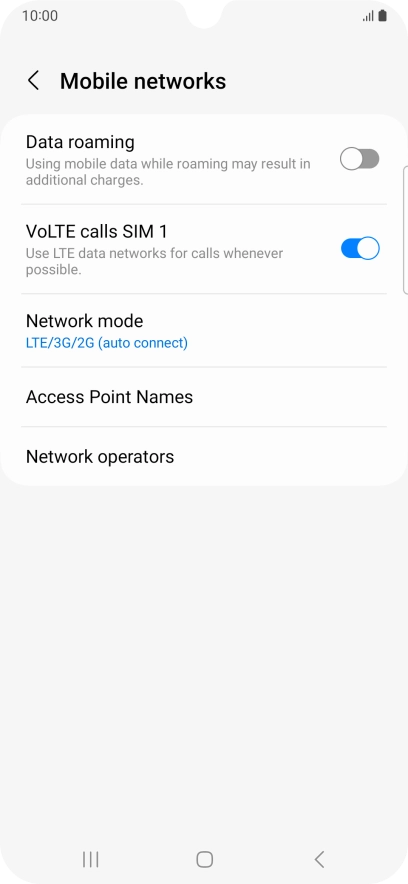
Press Mobile networks.


Find "Access Point Names"
Press Access Point Names.

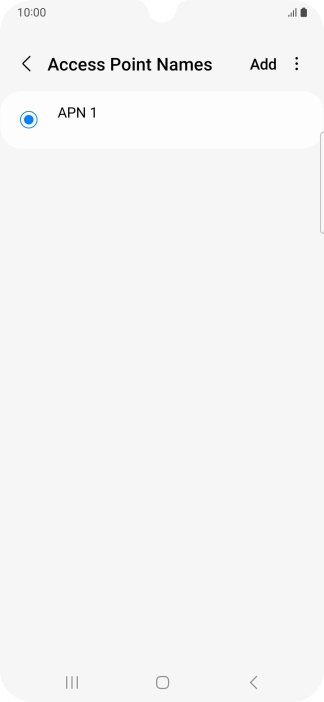

Create new data connection
Press Add.

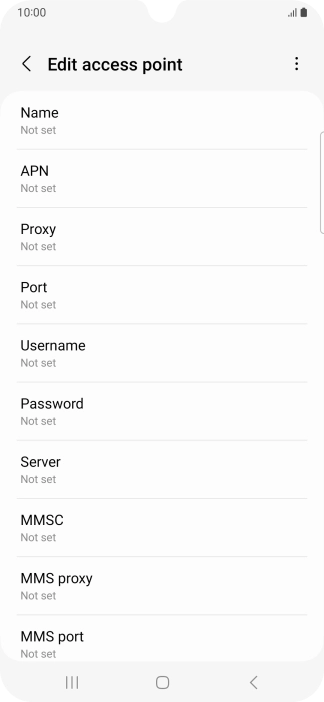

Create new data connection
Press Name.

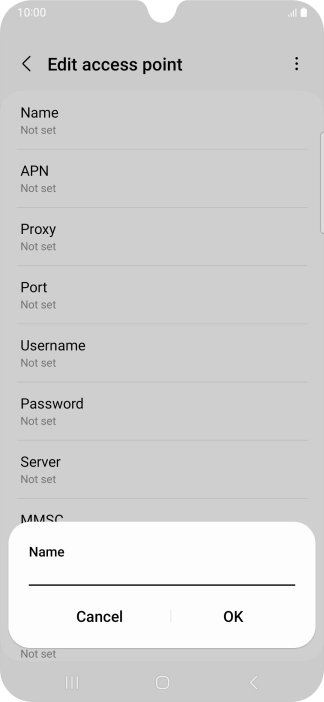

Create new data connection
Key in One NZ Internet and press OK.
Enter APN
Press APN.


Enter APN
Key in web and press OK.

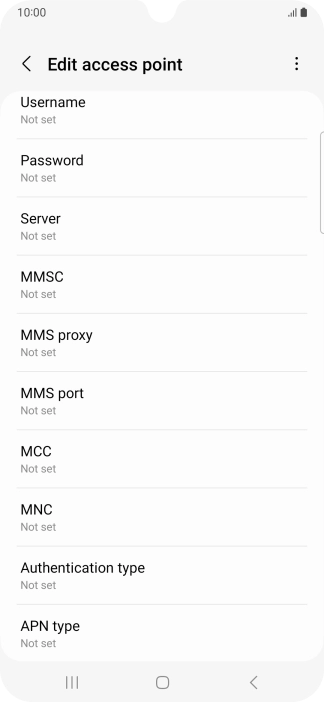

Enter country code
Press MCC.
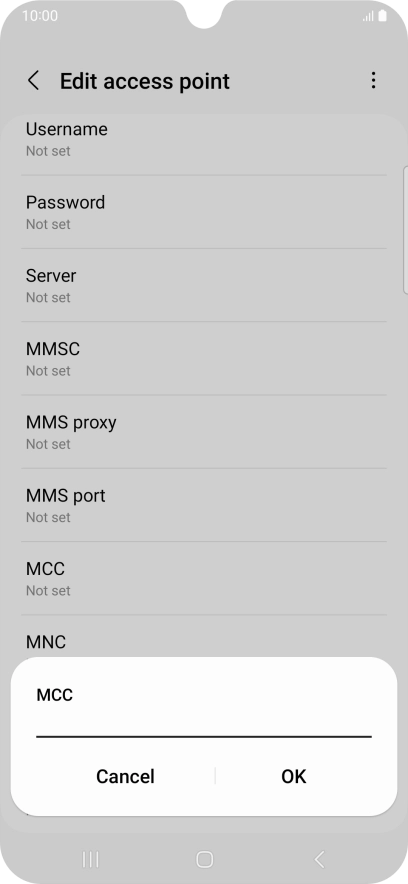

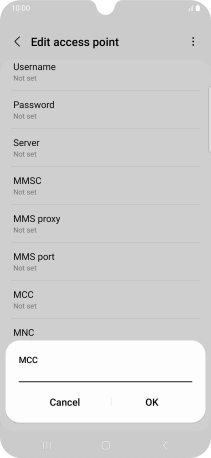
Enter country code
Key in 530 and press OK.
Enter network code
Press MNC.


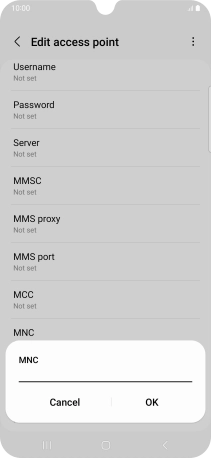
Enter network code
Key in 01 and press OK.
Select authentication type
Press Authentication type.


Select authentication type
Press PAP.
Enter APN type
Press APN type.


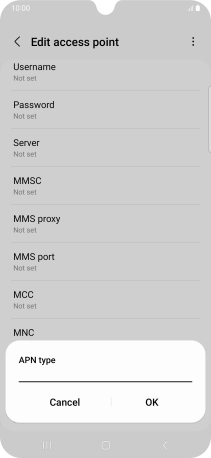
Enter APN type
Key in default and press OK.
Save data connection
Press the menu icon.

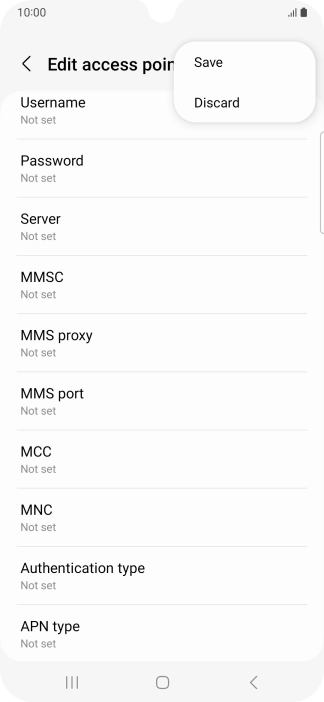
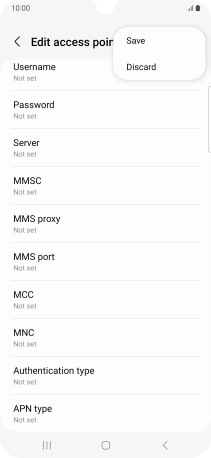
Save data connection
Press Save.


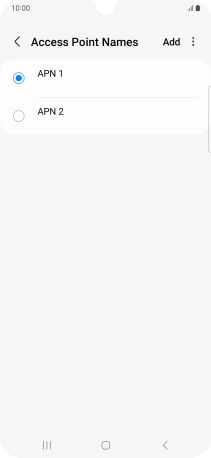
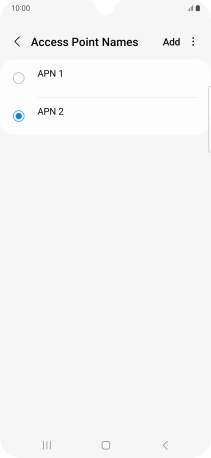
Save data connection
Press the field next to the data connection to activate it.


Return to the home screen
Press the Home key to return to the home screen.
1 Find "Access Point Names"


2 Create new data connection


3 Enter APN

4 Enter country code


5 Enter network code

6 Select authentication type

7 Enter APN type

8 Save data connection


9 Return to the home screen
