Huawei Y7
Android 7.0
1 Find "Access Point Name"
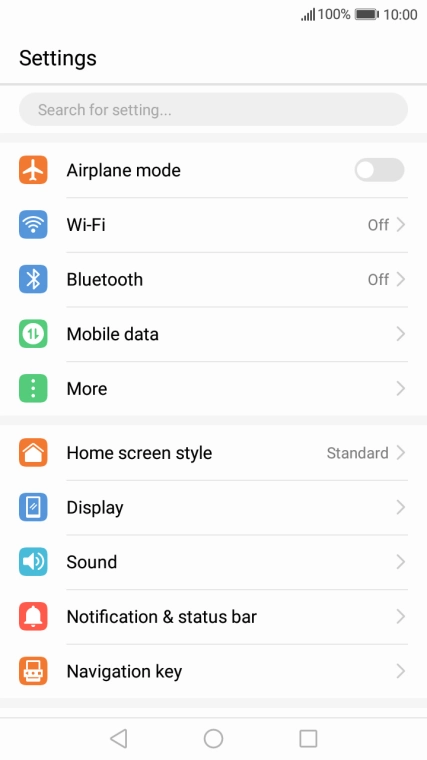
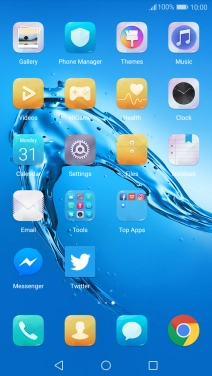
Press Settings.
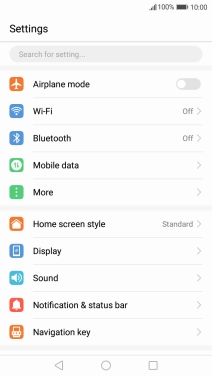
Press More.
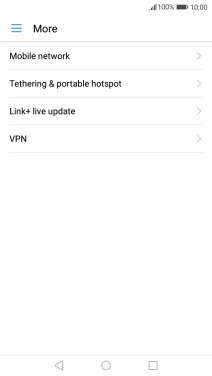
Press Mobile network.
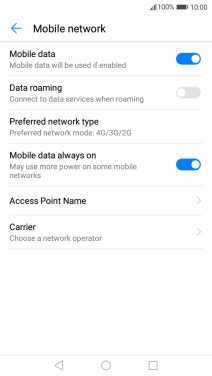
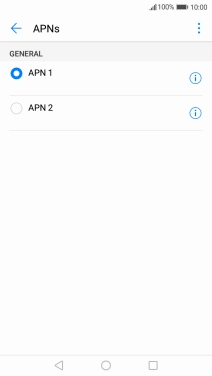
Press Access Point Name.
2 Create new data connection
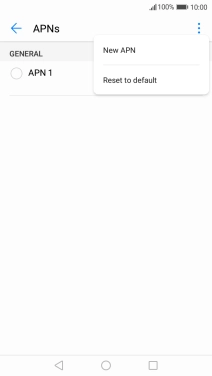
Press the menu icon.
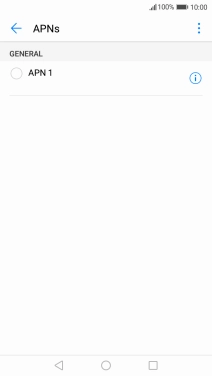
Press New APN.
3 Enter a name for the connection
Press Name.
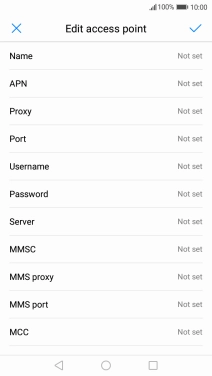
Key in Vodafone Internet and press OK.
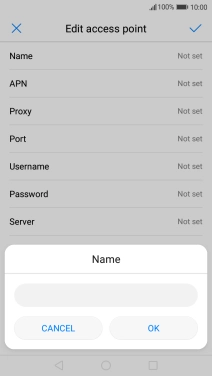
Vodafone Internet
4 Enter APN
Press APN.

Key in vodafone and press OK.
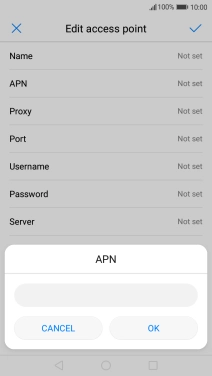
vodafone
5 Enter IP address
Press Proxy.

Key in 172.030.038.003 and press OK.
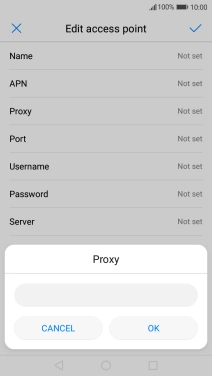
172.030.038.003
6 Enter port number
Press Port.

Key in 8080 and press OK.
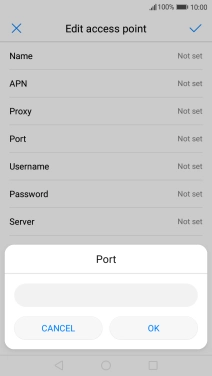
8080
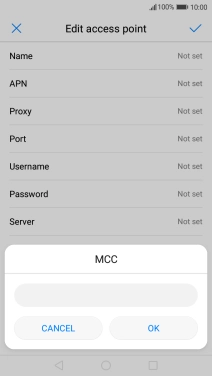
7 Enter country code
Press MCC.
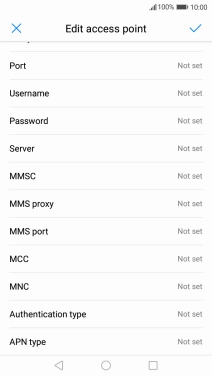
Key in 530 and press OK.
530
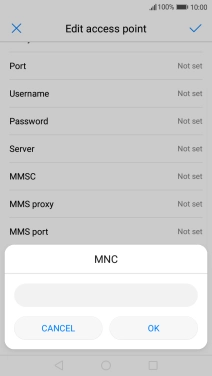
8 Enter network code
Press MNC.

Key in 01 and press OK.
01
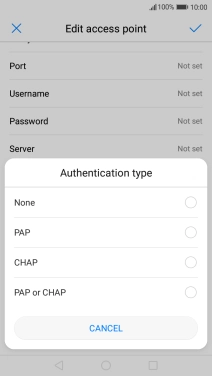
9 Select authentication type
Press Authentication type.

Press PAP.
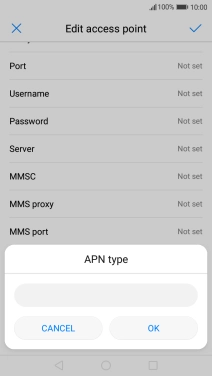
10 Select APN type
Press APN type.

Key in default and press OK.
default
11 Save data connection
Press the confirm icon.

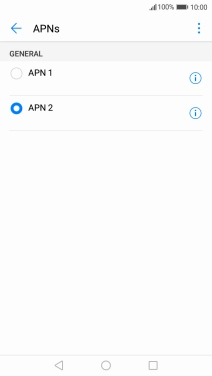
Press the field next to the required data connection to activate it.
12 Return to the home screen
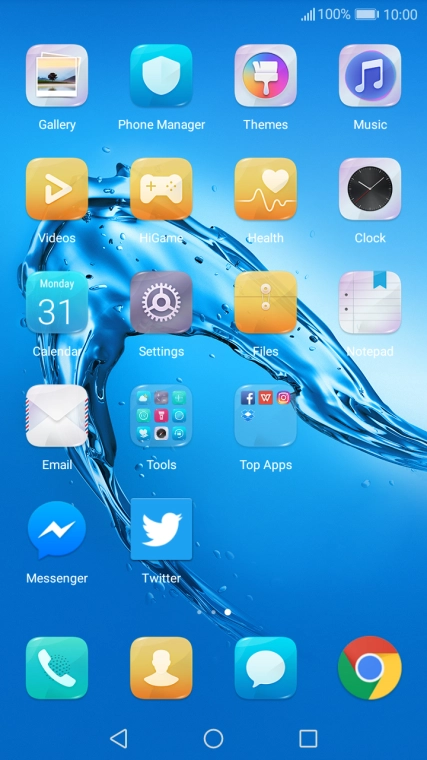
Press the Home key to return to the home screen.
