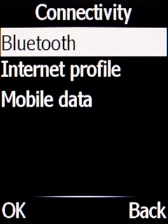
Doro 6520
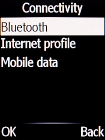
1 Find "Internet profile"
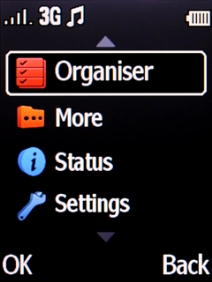
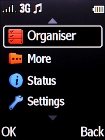
Press the Navigation key.

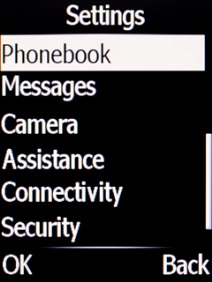
Select Settings.
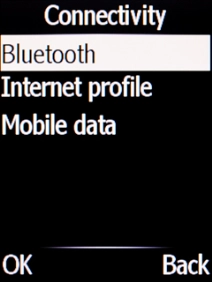
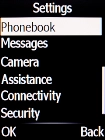
Select Connectivity.
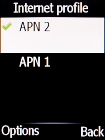
Select Internet profile.
You can also have a picture message configuration sent to your phone.
2 Create new data connection
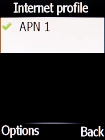
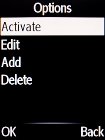
Press the Left selection key.
Select Add.
Highlight the field below "Account name" and key in Vodafone MMS.
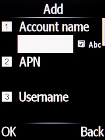
Vodafone MMS
3 Enter APN
Highlight the field below "APN" and key in live.vodafone.com.

live.vodafone.com
4 Select picture messaging server
Highlight the field below "Homepage" and key in http://pxt.vodafone.net.nz/pxtsend.
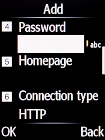
http://pxt.vodafone.net.nz/pxtsend
5 Select connection type
Highlight the field below "Connection type".

Select WAP.
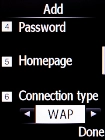
6 Turn on use of proxy
Highlight the field below "Use proxy".
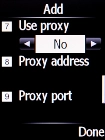
Select Yes to turn on the function.
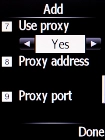
7 Enter IP address
Highlight the field below "Proxy address" and key in 172.030.038.003.

172.030.038.003
8 Enter port number
Highlight the field below "Proxy port" and key in 8080.

8080
Press the Right selection key.

9 Save data connection
Press the Left selection key.

10 Return to the home screen
Press Disconnect to return to the home screen.
